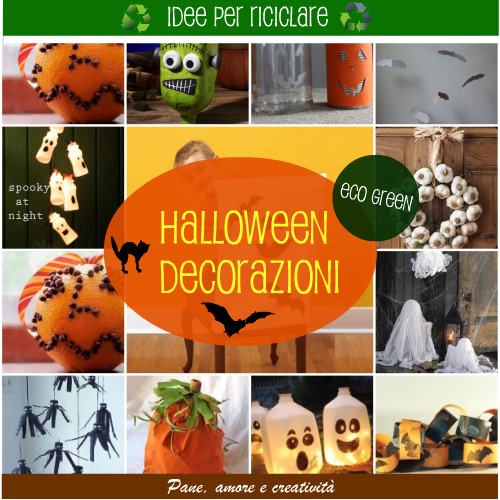
In this post, I will explain how to decorate your home for Halloween using all recycled materials, no crazy expenses for this celebration, just some healthy DIY fun!

DIY Halloween Decorations
The Monster

Materials needed: 1 plastic bottle, newspaper, 2 bottle caps, 2 corks, green, black, and white paint, glue (vinyl glue)
How to make: Wash the milk bottle well. Cut the newspaper into small pieces and attach it to the bottle with the vinyl glue, covering it entirely and letting it dry. Once dry, start painting the bottle green and use black and white paint to draw the mouth, hair, and scars. Glue the bottle caps for the eyes and the corks on the temples.
The Pumpkin

Materials needed: orange cardboard, tin can
How to make: Clean the tin can well and remove any paper residue. Cut a piece of orange cardboard to the size of the can. Draw the eyes, nose, and mouth of the pumpkin and cut them out. Glue the cardboard onto the tin can.
You can find a template for the pumpkin here: https://www.paneamoreecreativita.it/blog/wp-content/uploads/2009/09/Stencil-zucca.pdf
Original tutorial link and photo
The Bat

Materials needed: cardboard, a wooden stick, transparent string
How to make: Download the stencil with the bat design Bat stencil. Cut out many bats from the cardboard, make a small hole in each one and hang them on the wooden stick with the transparent string.
Original tutorial link thelongthread
Ghosts

Materials needed: Christmas lights, small white plastic bottles, black paint, string
How to make: Clean the plastic bottles well, make two small holes on each one in the cap. Decorate them with black paint and let them dry. Thread the string through the holes and tie the bottles to the string of lights, each bottle should have a light inside.
Tutorial link funinthemaking
The Pumpkin Lights

Materials needed: glass jars (baby food), orange crepe paper, white crepe paper, glue, black paint, small candles
How to make: Attach the crepe paper to the outside of the jar using glue. Let it dry and then draw the pumpkin or ghost face. Put a small candle inside and light it.
Tutorial link skiptomylou
The Spooky Chair

Materials needed: a chair, old white sheet, black marker
How to make: Take an old white sheet and place it on the chair, letting it fall loosely like a ghost. Draw the eyes and mouth of the ghost on the sheet with the black marker.
familyfun
The Pomander Pumpkin

Materials needed: grapefruits or oranges, cloves, 1 toothpick
How to make: Using the toothpick, draw the face of the pumpkin by making many small holes. Insert a clove into each hole.
Link to tutorial craftjr
The Garlic Wreath

Materials needed: garlic, garlic, and more garlic.
How to make: Create a wreath by braiding garlic and hang it on the door.
Idea from green-vaccine
Halloween Lanterns

To create Halloween lanterns, you will need: glass jars, orange cardstock, tissue paper, and black paint.
First, cut the cardstock to cover the surface of the jar.
Then draw one or more Halloween figures (cat, bat, pumpkin face) on the cardstock and cut them out so that only the shape remains on the orange paper.
Next, cover the cardstock with a rectangle of white tissue paper and color the empty spaces with a black marker.
Finally, cover the jar with the decorative strip and place a light inside.
Idea by lacascinacreativa
The Halloween Witch

To make a decoration to hang on your window, you will need: black cardstock, scissors, pencil, double-sided tape.
Draw the Halloween shape of your choice, in this case a witch.
Cut out the outline and then attach it to your window with double-sided tape.
When you turn on the lights, the Halloween witch will appear!
Idea from piacerediconoscerti
The Spider Web

To create the spider web, you will need black yarn and tape.
Start by attaching the yarn to the window with tape: the threads should converge towards the center of the window and form a knot there.
Then, weave the yarn over and under the initial threads to create the web.
Idea from piacerediconoscerti
Mummies

To make these mummies, you will need: three plastic bottles, googly eyes, white crepe paper, white glue, and yellow acrylic paint.
First, cut the crepe paper into long 2 cm strips. Wrap the paper around a bottle, gluing it as you go.
Attach the googly eyes.
Using a brush, take the yellow acrylic paint and brush it over the paper to achieve a worn look on the mummy’s bandages.
The Pumpkin Strip

What you need: a strip of black cardstock, pencil, scissors, paper, tealights.
How to make: Draw a Halloween pumpkin on a sheet of paper, this will be the shape to use for the strip, then cut it out.
Trace the pumpkin outline multiple times on the black cardstock, placing them close together with no gaps between them.
Cut out the outline of the pumpkins and the internal parts (eyes and mouth), being careful not to separate the pumpkins, they should remain connected.
Leave a tab on the outer edges of the pumpkins, which you will use to support the long strip when folded.
Place the strip of pumpkins on a shelf and light the candles at the back!

The Ghost Garland

A glowing garland created with: drinkable yogurt containers, insulating tape, scissors, and a marker. These are the only materials you’ll need to create a charming string of little ghosts, a great last-minute Halloween idea!
Ghost with a Handkerchief
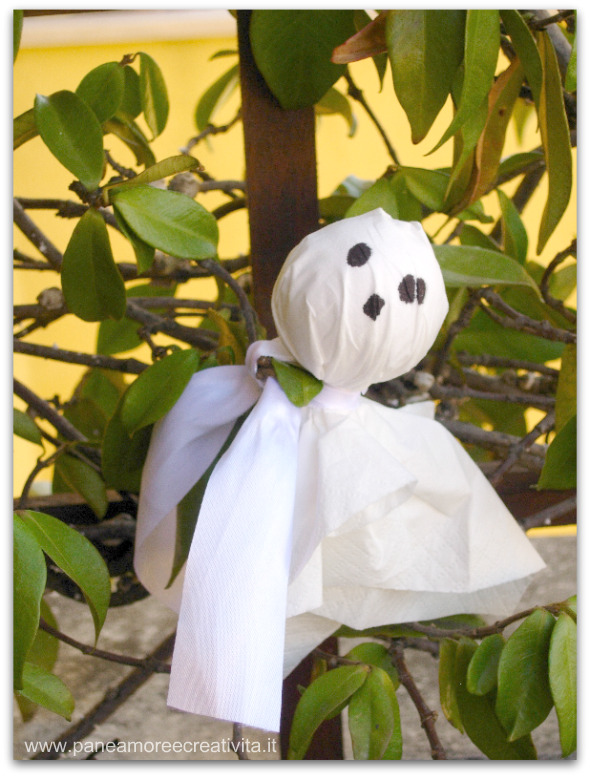
A very simple project to create a ghost to hang for your Halloween party.
The materials you’ll need are few and simple, I’m sure you have them at home!

