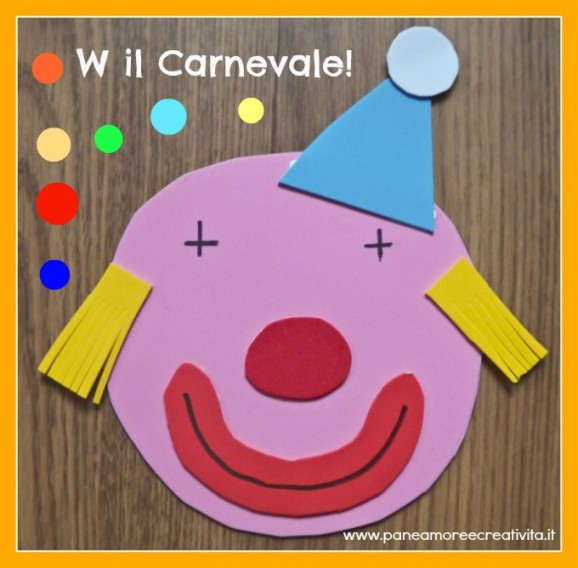
To decorate children’s rooms and school classrooms, today I’m sharing an easy Carnival craft: the clown made with foam sheets. Are you ready to get started? Let’s begin right away!
Let’s Create the Clown!

Tutorial
To create the Carnival clown, you’ll need white glue, scissors, a black permanent marker, and foam sheets in the following colors: pink, red, yellow, blue, and white. First, make the clown’s round face by cutting a circle out of the pink foam sheet. It doesn’t have to be perfect; freehand cutting will work just fine. Next, cut two rectangles from the yellow foam sheet and fringe one end of each with scissors. Use the blue foam sheet to create a triangle for the hat and the white foam sheet to cut out a circle. Lastly, cut out the red foam sheet for the nose and mouth. As you can see, you won’t need much foam for this project; small scraps are enough. So, I recommend saving even the smallest pieces for future projects. Now let’s start assembling: Begin by making the hat. Glue the white circle to the tip of the blue triangle. Attach the hat to the clown’s head, followed by the nose and mouth. Add the fringed yellow rectangles as tufts of hair, one on each side. Using a black marker, draw details on the foam: Add a line in the middle of the mouth to create a smile. Draw the eyes with two small crosses. The clown is now ready to brighten up your space! Where will you hang it? 😉
More Carnival Ideas
If you liked this idea, don’t miss out on the others! Check out more Carnival projects here: https://www.paneamoreecreativita.it/blog/category/bambini/lavoretti/lavoretti-di-carnevale/

