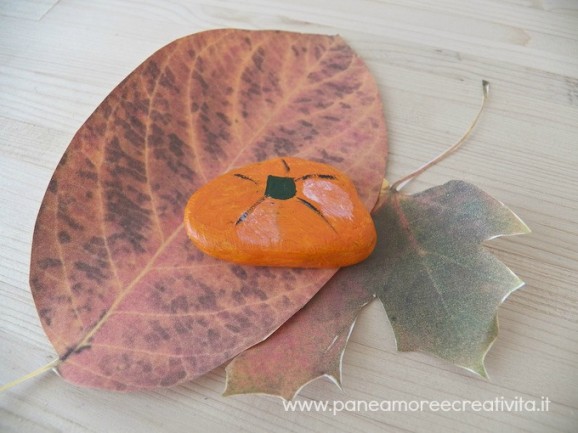
 Let’s start the Monday with a small craft to do with children: the painted pumpkin on stones. With acrylic paints and a small stone collected during the summer, I recreated a small pumpkin paperweight, which children can create with a little help from mom.
- A small stone (preferably round or oval)
- Acrylic paints (orange, green, brown, and optional yellow or white)
- Brushes
- Clear varnish (optional, for a shiny finish)
Steps:
- Prepare the stone: If the stone you collected is very dirty or dusty, start by cleaning it well with water and soap. Dry it with a cloth and make sure it is completely dry before you start painting.
- Paint the base of the pumpkin: Use the orange acrylic paint to paint the stone. Apply one or two coats, depending on the intensity of the color. Allow it to dry well between coats.
- Add the shape of the pumpkin: With a fine brush, use brown or green paint to draw curved lines at the top of the pumpkin. These lines will represent the natural divisions of the pumpkin. You can also add some yellow to create shading and highlights.
- Then, draw the stem at the center of the pumpkin and paint it with green paint.
- Finish: Once the paint is completely dry, you can add a final touch by applying clear varnish to make your pumpkin shiny and protected, especially if you want to use it as a paperweight.
- Let it dry well: Before using your paperweight, make sure the varnish is completely dry.
Other Ideas
With the rock painting technique, we can also make polka dot stones (here are the instructions) or strawberries (see here).
 Let’s start the Monday with a small craft to do with children: the painted pumpkin on stones. With acrylic paints and a small stone collected during the summer, I recreated a small pumpkin paperweight, which children can create with a little help from mom.